
|
Select a Topic Below and Get That
“How To Build a Go Kart” Question About Go Karts Answered Today! |
 |

An E-book is a downloadable book. When you purchase an e-book you will receive a download link. Typically the downloads are around 10 megs on the larger bundles, which provide the best value.
The books are listed below, or select the topic on left and it will direct you to the book that applies.
How To Build a Go Kart
7 Detailed Steps On How To Build a Go Kart
Vertical Engine Drives
Lawnmower to Go kart Guide
Drive System
How To Guide On How To Get The Most Out Of Your Drive System. Climb Hills, Accelerate Quickly…
Steering
Everything You Wanted To Know About Steering Systems
Seating
Special Topic Article
Lawn Mower To Go Kart
Excellent Go Kart For Next To Nothing
Engineering Tool Kit
Tools On Line For Designing Go Karts:-What really is the horsepower of your gokart?
– How fast does it really go?
– What will the horsepower engine I have right now, do for a go kart?
Go Kart Videos
Watch the Guru make a go karts and explain go kart problems, pitfals and design issues.
Build This Go Kart For Under $200
| Listen to what our customers are saying:
The information and detail he provides on so many aspects of cart construction is probably the most exhaustive on the web. Without a doubt it will save countless hours and dollars worth of mistakes. Thanks again for providing such great information..” Jamie, Pennsylvania |
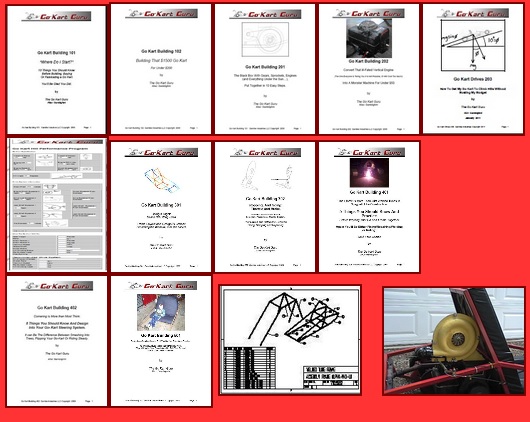
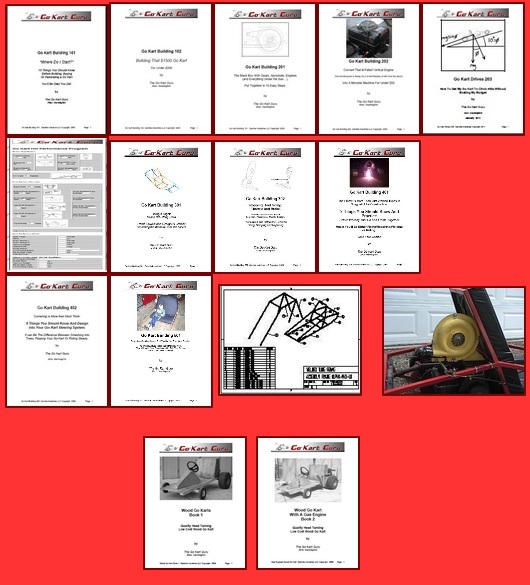
Download the Go Kart Training Coarses below.
The Coarses are down-loadable pdf booklets on how to build go kart.
Take advantage of these “How To” Courses while they are available!
| Go Kart Building 101 – Where Do I Start?
One of the biggest pitfalls people fall into is not considering the 10 Thing about gokarts prior to building, or even buying a go kart. These 10 things will make this project either worth while, or a waste of time! |
 |
| Go Kart Building 102 – How To Spend Only $200 (if that) on a Go Kart
How do you get all that stuff together and only spend $200? Go Kart Building 102 shows you how to do it, and where to buy it! |
 |
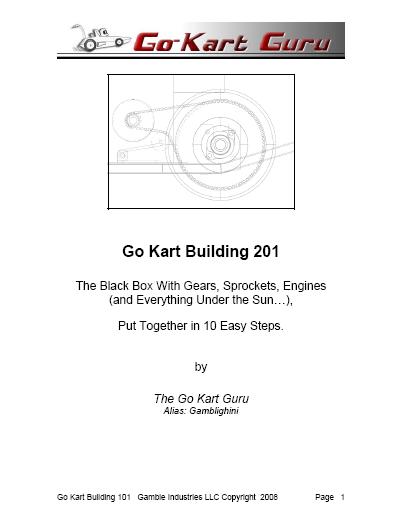
| Go Kart Building 201- Go Kart Drive Systems Design and Layouts
You may get that go kart put together, but don’t have a clue as to how to connect the engine up and get it to not burn up a clutch or belt. Go Kart Building 201 shows you how to layout your drive system, what ideal ratios you should be using and what clutch system best suites your cart. |
 |
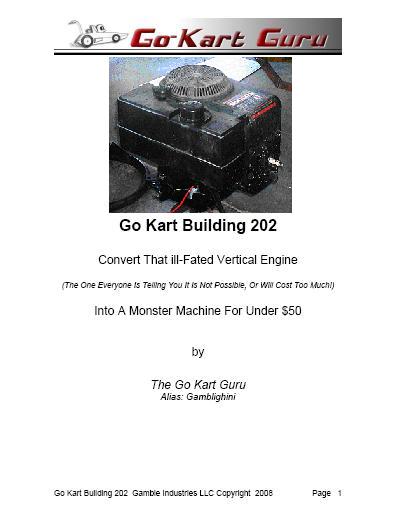
| Go Kart Building 202 – Vertical Engine Drives (Running the Engine Vertical)
Lawn Mower Go Kart Everyone has an old rider lawn mower sitting around, but because the engine is vertical, they don’t have a clue as to how to make it work on a gokart. This is by far the best selling product that the Go Kart Guru has, because NOBODY shows you how to do it, accept the Go Kart Guru! |
 |
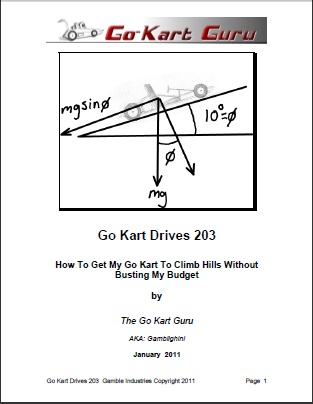
| Go Kart Building 203 – How To Get My Go Kart To Climb Hills Without Busting My Budget
Clutches smoking are the biggest headache that most go karters have. This course breaks the hill barrier and uses a whole arsenal of graphs and programs to get the job done. By far the most extensive work on drive systems so far! |
 |
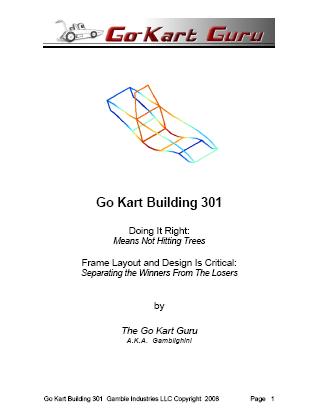
| Go Kart Building 301- Go Kart Frame Design and Stress Calculations
The Go Kart Frame design is so critical to go kart handling and performance. It is not just slapping together a couple of tubes and angles and “wallah” a go kart. It is a little bit more involved than that. This course shows you how to design the frame on your go kart so it will corner like a Porsche. It even shows you how to do stress calculations so that the frame does not fall apart! |
 |
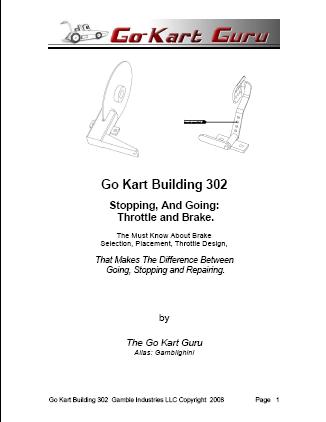
| Go Kart Building 302- Go Kart Throttle and Brake Systems Layouts
Throttle and Brakes systems usually are the last things to be addressed in go kart designs and that is not a good thing. Sticking throttles, and poor brake systems are the last thing you want to deal with. This book shows you how to put together simple though easy to work-on throttle, and brake systems. |
 |
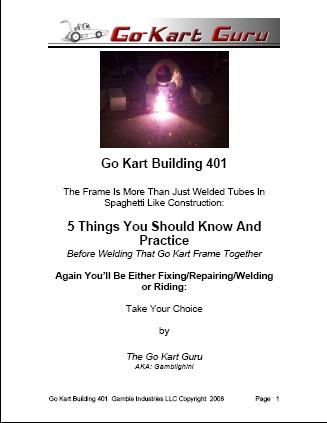
| Go Kart Building 401- Go Kart Frame Fabrication and Fixturing
The actual making of a go kart does take some tricks. This book covers 5 major areas and that are very important for frame fabrication. It shows you how to make a go kart frame, how to use the tools (special tricks for repeatable reliable frame fab), Pitfalls in designs, how to get past them: which include drive line, steering and frame strength. |
 |
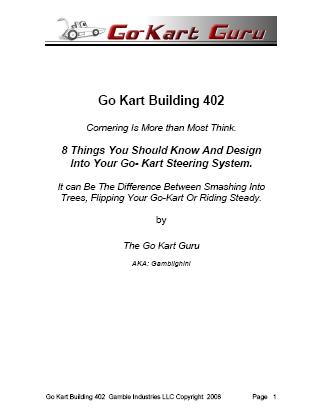
| Go Kart Building 402- Go Kart Steering Systems
Steering Systems are usually cobbled together. Not a whole bunch of thought is put into them, and so the go kart just doesn’t corner, it goes strait. This book shows how to optimize your steering system. |
 |
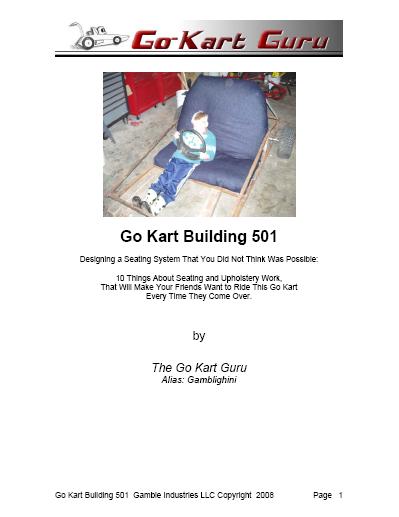
| Go Kart Building 501- Go Kart Seat Design and Fabric
Seats are usually the last thing thought about on the go kart. Make shift seats are cobbled together. This e-book shows how to make your own go kart seat, one that will be very comfortable, but not cost an arm and a leg. |
 |
| Go Kart Plans
Make this go kart yourself . |
 |
Go Kart Building Bundle
|
Go Kart Mega Bundle
|
| You may be saying
Getting the center of gravity right, the drive train set up correctly, and even the brakes proved to be a challenged, but all that mystery is revealed in the go kart building video and printed eBooks. Take advantage of this printed book offer while it lasts. Why Wait? Start By Downloading Today! |
Read on and get some tips that you will need for building a go kart!
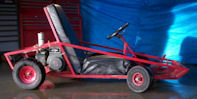
Building a go cart is a wonderful experience and very rewarding. When you build gokart right, you just can’t but help smile and feel good about what you have put together.
Building a gokart is not just a raw materials assemblage exercise. When done right you will have gained a whole vast store house of experiences and tools that you will be using for the rest of your life.
If you are a young person going onto college, or you are in college, you will find the go kart project, presented here, as a very helpful in preparing you for college, and for your first professional job.
You can rest assured learn the following skills:
- Organization
- Self Discipline
- Higher Math Skills
- Engine Fundamentals
- Hands on Practical Mechanics
- Electrical
- Fabrication Techniques: Welding, Metal Forming, Upholstery
Well, lets get into the nitty gritty of making a go kart. The following is a paradigm, or a process which was essential or indispensable for all my successful go karts:
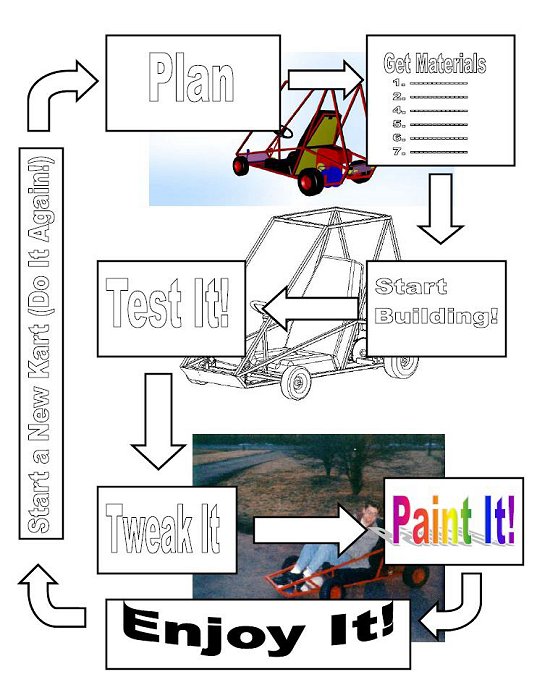
As you can see the process is seven (7) step process.
1. Planning
2. Getting the Materials
3. Building the Go Kart
4. Testing the Go Kart Out
5. Tweaking All the Flaws Out
6. Finally Painting It.
7. Last but not least: Having a blast driving it around and showing it off !
Planning
Planning, involves the overall design.
- What type of go kart is it going to be?
- What is the frame style?
- How many persons is it going to seat?
- What kind of engine is it going to have?
- What kind of safety considerations need to be addressed?
Getting Materials
Getting the materials, involves either scrounging around and finding materials, or buy them from suppliers.
The internet is replete with suppliers for go-kart parts. Part Suppliers will provide the following materials:
- Axles
- Brakes
- Clutches
- Throttle Cables
- Brake and Gas Pedals
- Bearings
- Sprockets
- Chains
- Tie Rod Ends
- Steering Wheels
- Wheels/ Rims
- Tires
- Tubing
It is important to have at least 85% of the materials on hand so that the next step of building does not take so long, and you are able to just have at it!
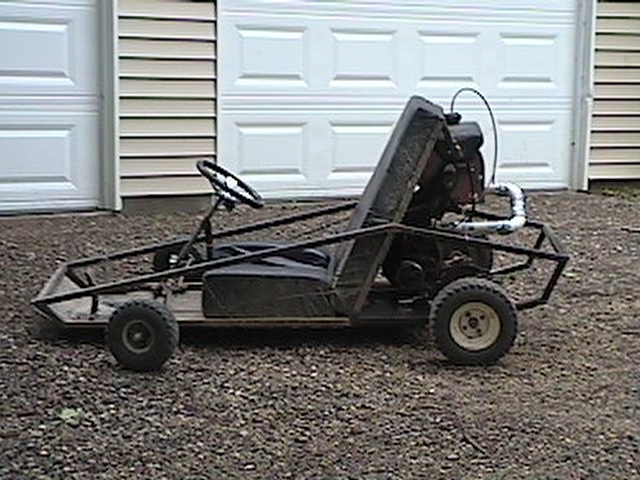
Building the Go Kart
Building the Go Kart will in most of the go karts on this web site require welding. Welding is a great skill to have, and is not that hard to do. Pick up a welding book at the library or just plan do it. I learned by doing, more so than by reading.
If you need further information on welding, the following is a very informative link on welding: Click here
Below is a Lincoln Welder which is typically sold at local hardware stores for under $200, or even the large home supply stores.
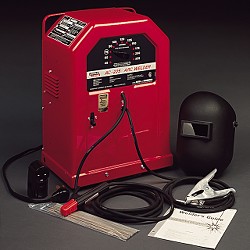
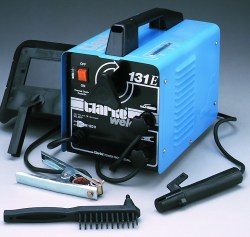
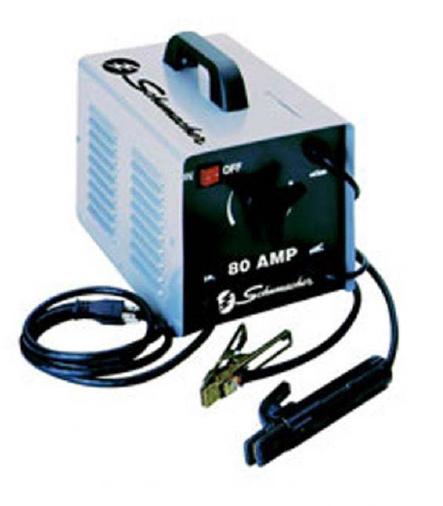
Stick welding is the minimum requirement. Using the welders that run off of 110 volts is not the best, because amount of penetration (the ones shown above are limited to 1/4 thick steel), and the amount of welding that you will be doing, will be factors in causing either the unit to fail, or not give you a good weld.
If you use the smaller welders, be aware that you are using a lower quality welder that may overheat and or not give you full weld penetration.
I love the fancy MIG welders with computer controls, wire feed and so forth, but they are NOT required for a go-kart project. They make welds look prettier in some instances, but when you get good at welding with stick, you will be able to lay a really pretty weld no problem.
Measurements and Fixturing
Building the go kart involves basic measurements and fixturing. The general rule for measuring is to measure twice or at least three times. When you start measure, but measure one way. When you finish double check the measurements to make sure nothing has walked or gotten out of alignment. (ie do a linear dimension, the second way measure diagonally, the third way measure using a different tool, if at all possible)
Measuring also involves more than just tape measures. You can measure using identical pieces, squares, or vernier calipers. When you use a tape measure, the best way to use it is actually start on the one and add one. The reason for this is that the tape measure end is not stable and you will be off by almost an 1/8th if you do not watch it.
Fixturing is designed to hold your assembly square, flat and consistent. Nothing says a fixture must be made out of aluminum and look like it belongs in a factory. A fixture should, however, be able to duplicate parts, especially if more than on unit is required. Simple fixturing involves clamps so that the part can be held in place. Not more than five clamps is a must for a good fab shop.
The Building Process
A couple of insights into building the go kart is to have the plan established. Do not try to build this thing off the cuff. Do not try to shoot from the hip and build this go kart. Have at least some idea where you are going. The plans are the key.
The building process is the following:
- Weld the frame
- Assemble all components
- Align all parts for running order
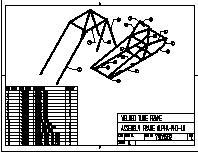
Welding the Frame
The go kart is not going to weld itself together, or lay in place on the floor to be welded miraculously. You need some sort of fixture. In the plans I sell I show how to make a fixture. It is quite simple and very cheap.
You lay out the pieces in the fixture and then tack the pieces together. The fixture keeps everything in a flat state and also aligned.
Keeping the frame square is critical, though not vital. You can shim later, and especially in the designs that I sell, the frames are forgiving in that shimming is easily incorporated into the structure to keep the unit riding level and square to the ground.
To keep the frame square, be sure to have a flat floor, or flat welding table to use. A concrete floor is typically good enough. Double check the floor, however, is flat and does not have any dishes in it. You can do this by running a two-by-four across the floor and look to see if voids appear underneath the board. If they do, be sure to take note of the dips and avoid them when welding your frame.
Use a square to keep the unit in parallel. Also use a tape measure, and cross diagonal check everything.
Assembling the Components
Once the frame is welded, the steering components should be welded, and the front wheel assembly placed onto the frame. The steering wheel and supports should then be placed in the optimum location, this can change from driver to driver.
I typically will have all the wheels on the go kart to see how the gokart looks and feels.
After the steering system has been welded in place, the engine, brakes and throttle assemblies are mounted. A trick for mounting the engine is to take some spray paint and squirt it into the holes of the engine mount on the engine. Let the engine sit for a few minutes and then remove the engine. The location for drilling the holes will be the paint marks.
The seat then is fabricated out of wood, cushion and fabric. The seat actually is pretty simple as well, but when designed right is extremely comfortable and looks like someone from a leather company put it together. I actually have had people comment on whether or not I had someone make the seat for me.
The seat then is placed into the go kart.
The final step is to put on the bottom plate. This plate is actually a thin piece of galvanized steel and is zipped in place with tech screws. What a wonderful invention! They self drill and just zip in place with an impact gun or even a drill.
Check all the components for tightness, squareness. Check to make sure the chain is aligned properly, that the throttle and brake cables are operating properly.
Check also to make sure the tires are not going to go flat. That is one annoyance: flat tires. If you are using old parts, just go the extra mile and buy inner tubes. Inner tubes are a must for homebuilt carts, because the chance of losing air on a rim sealed tire is pretty high. Inner tubes keep the air, and are more forgiving.
Testing The Go Kart
The test drive is then the next heart pounding experience. In my day it typically was at twilight or at midnight. Not a very smart thing to do. Driving at night, no matter how well lit is not a good idea. Trees, cars, swing sets, people, are all obstacles that you may not be able to see.
So wait until it is safe to test the go-kart. You may not be able to sleep, but that is all part of the experience!
Testing the Go-Cart involves putting the Kart through its paces. Acceleration, braking, corner, sudden deceleration, extended running.
The basic test requires at least 20 to 30 minutes of solid running. What this will tell you is the following:
- Will the chain pop off?
- Under hard acceleration
- under high sudden deceleration (braking real hard)
- extended deceleration (letting of the gas from full throttle and coasting)
- Is there any binding, or frictional problems ?
- brake lagging or sticking
- poor chain performance: chain hops, rusty chain
- bad bearings in the wheels
- Is the steering correct?
- Pulling to one side
- Tires not tracking well wearing on one side
- Vibration in the steering column
- Steering loose or uncontrollable
- Is the Cart cornering well?
- Goes straight when trying to do a cornering maneuver
- Back end kick out suddenly {squirrelly}
- Tires (especially the fronts) bend over in turning
- Is the Kart able to handle extended periods of running?
- Overheating engine
- Bearings hot
- Wheels become wobbly
- Something just breaks
Tweaking The Go Kart
Tweaking the GoCart is why my friends call me, the tinkerer. There is always something to improve. Basic improvements, refinements are all part of the process.
Never have the attitude that the go kart should not be changed. Try the change, it may not work, so what! At least you now know it does not work.
The supercharger system is an example of one monster tweaking project.
I was determined to have a supercharged go kart. The first unit was duct taped together. Boy! The supercharger ripped the duct taped tubing apart! I had to upgrade to something more stout, like PVC tubing.
If that was not enough, then the engine kept quitting! I could not figure out why I kept running out of gas. I would turn on the supercharger and in less than a minute the engine would just quit. The last thing I expected from a super charger! I expected a kick-in-the-pants, a whamming of my head back in the seat, a mind boggling, throat drying, face curdling experience! But No! The engine just quit!
I solved the problem, by doing some research into carburetion, opening some textbooks on engine design, and tried one solution. And ‘Wallah!’, no more problems. I could resume research and design on the supercharger concept.
Basic tweaking, is trouble shooting, or problem solving. Like the problem above, there is always an explanation for the problem that is happening.
The basic paradigm for troubleshooting is as follows:
- Identify the problem
- Trace the components of the problem to the lowest possible cause
- Fix the problem by eliminating the causes
Example:
The go kart has been drive hard for ten minutes and then is shut off. The engine is then restarted and goes to full throttle immediately!
(I had this happen to me once. I stopped the gokart to talk to my sister for minute. I then restarted the gokart and it ran over my foot as it took off across the yard, doing donuts as it went! I had to shut it off so I ran over to the go kart and had to do a dance to get at the shut off switch. Painful feet, and adrenaline rushing moment! What in the world was this all about?!)
| Problem: Engine goes to full throttle, seemingly out of now where! Kind of spooky.
Causes: For an engine to go to full throttle the carburetor must be full open. Possible causes:
Actual Cause: The spring for the throttle fell off during the hard running of the previous twenty minutes. This caused the pedal, to have enough weight to make the throttle stick open fully. Solution: It is a bad idea to have the engine throttle dependent on one spring. In this case it was one spring holding both the pedal and the throttle. Moral of the story, have two systems in place as back ups. Put a spring to hold the pedal back alone, and a spring to hold the throttle back too. When thinking of solutions, always have in mind a positive outcome. Safety is preeminent on the list. Think: If this unit were to fail, what would be the outcome? If the outcome is disaster, have a back up system to take over, so disaster does not occur. |
And finally: When driving a go-kart, always check systems. A wise man once said ” Life is instruction.” Always be ready to learn. Always be ready to update or change the design. Always think about improvements for safety, and performance.
If the unit is broken, do not go out and drive it. Using a fishing line is not the smart thing to do! It may work, but it definitely is not the better of solutions. If the redundant back up is missing, rethink the design.
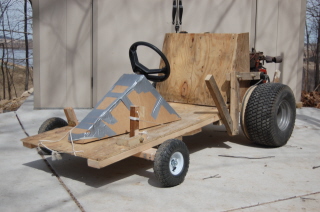
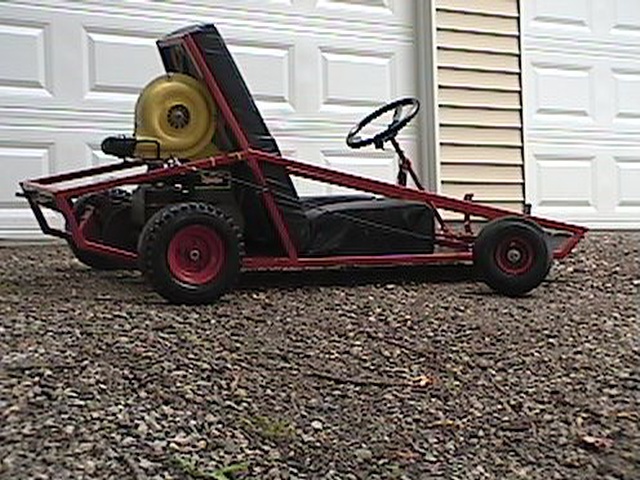
Painting The Go Kart
You will be amazed at how a dumpy looking gokart can look 10 times better with just a paint job. Look at the pictures below of my unpainted, then painted gokart, and how much an improvement, painting does to the overall look.
Paint is designed to protect the surface of the steel from rusting and adds an aesthetic appeal. There are different types of painting.
- Enamel Paint
- Powder Paint
- E-Coat Paint
- Epoxy Paint
Enamel Paint is the most cost effective paint available. It requires surface preparation and air dries. The base metal should be coated with a metal paint primer, prior to application of the enamel paint. The primer provides a better adhesion of the paint, because it is designed itself to bond better, than paint can to steel. The paint actually sticks to the primer. The primer to the steel.
The actual bond of the primer is mechanical, not chemical, which may not mean a whole lot to you, but in plain english it means that it will chip. A chemical bond will be very hard to scratch away, whereas, a mechanical bond will chip, or can be scraped away.
Powder paint is a polyurethane finish that requires multiple surface preparations. Because of the many washings or surface preps that the steel goes through prior to painting, the process is something you can buy at the store.
The surface after preparation is coated by powder. The frame is charge electro-statically, and then the powder is sprayed onto the frame. The frame is then put through an oven, and the urethane finish is baked onto the metal. This finish is mechanical as well, and can be chipped off. There are painting houses, or businesses that do powder coat painting. You would need to bring your frame over to the factory and have them ‘hang’ it on the line, and paint it. You may end up paying an arm and a leg, but the paint finish is very professional looking.
The E-coat process is basically the same cleaning process required for the powder coat, but the frame is dipped in the paint. The paint is then baked on as well. The biggest downfall of e-coat is that it chalks or leaves a white powder on the surface after it is exposed to ultraviolet light, or the sun.
Epoxy paint is the paint most used by car painters. The paint, or even the primer is mixed with an activator which stimulates a chemical reaction. The chemical reaction causes the paint to harden. Again the bond to the steel surface is NOT chemical, but mechanical. The paint bond however is better, than enamel, and the finish is better as well.
And finally, you are probably wondering, is there even a chemical bond out there for paint? Yes. There are chemically bonding primers that are primarily used as rust inhibitors. The rust, which is a chemical bond to steel, is converted into a different molecule which is inactive and will not ‘rust’ or turn into Iron Oxide any more. This surface is ideal for painting on.
When applying paint, be sure to prep all surfaces. Application is best with a spray, and not with a brush. There also are different sprayer types: mechanical spray, and air spray.
The mechanical spray uses an impellor and flings the paint out. The air sprayer sucks paint up through a tube and then combines the paint with the air that is moving at a velocity out of the nozzle towards the object to be painted.
Air sprayers require a respectable air compressor, where as the mechanical paint sprayers only require a plug outlet.
Start Over!
Starting the process over and building another gokart is well worth it. The problems that you ran into before, will now be avoided, and you will actually be able to build the go kart faster. This time you can play with different variables and change the design a bit.
I have a history of all the go karts I built in the archives section. This section shows all the improvements, and experiments that I went through in developing the Gamblighini Go Kart Line.
Game Plan
The key to building the go-kart is having a game plan.
- What is going to happen first?
- How am I going to make this happen?
- What if it does not happen like I wanted?
- What am I going to do?
First of all, don’t panic!
You have already made the first crucial step: You are looking at go kart ideas.
You are thinking about ” How am I going to do this?”
The next step is to identify first what you really want. What kind of go kart do you want?
Make a list like the following:
- I want a metal go kart
- It should have at least 5 hp engine on it
- I would like it to hold one person
- I want to feel safe, so I would like it to have a roll bar.
There actually is a paradigm as well, or process for developing a gocart design. It follows the following format:
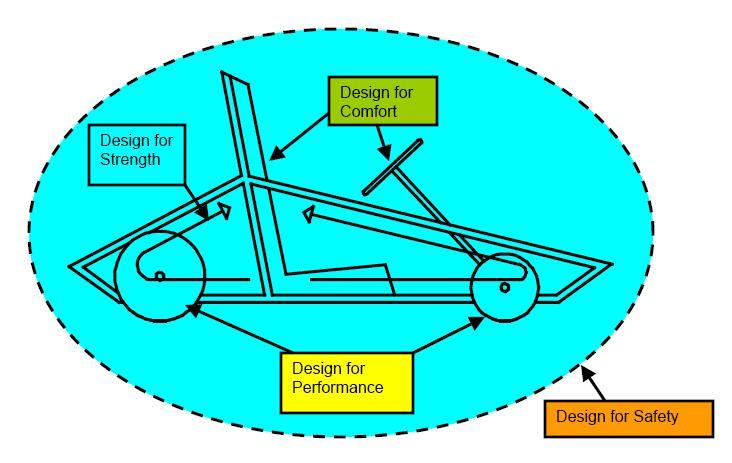
As you can see there are four issues that all have different weights or importance to the design of the go kart.
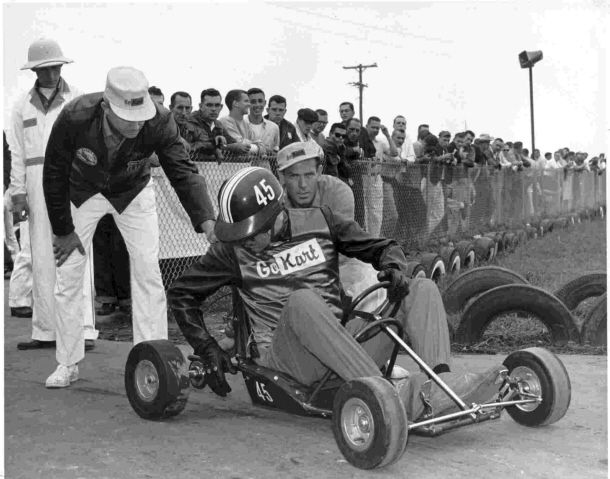
When go karts were first developed, they were light, and very uncomfortable. You could barely get a full grown man to sit in the go kart. (See Vintage Karts for a History of Go Karting, very interesting!) Now these go karts were designed to be light, fast, and nimble.
As go karts progressed, different classes of go karts were developed. Adult classes and then young person classes. In some of the more radical go karts that exist today, you actually lie down in the go kart and go over 120 mph.
You can design any go kart you wish, it just comes down to the variables above. Which ones do you like the most. As you can see, design for saftey is key to the whole design. It surrounds the whole vehicle.
Below is a matrix of different go kart types and how they stack up to the design variables.
